Do you need to learn how to install garage door? If so, you’ve got a big and incredibly complicated project in your future. Unfortunately, installing a garage door can be very complex and you will need to seek out the assistance of a few friends, before attempting to move forward. Despite coming in separate pieces, garage doors are bulky and heavy, so you’ll need a few friends to help you get the door in position and keep it there during the installation. You’ll also need to take extra steps to keep the elements out and prevent the rain and humidity from damage the door and the items within your garage.
When you’re ready to learn how to install a garage door, you should proceed to the steps below.
Removing The Broken Garage Door
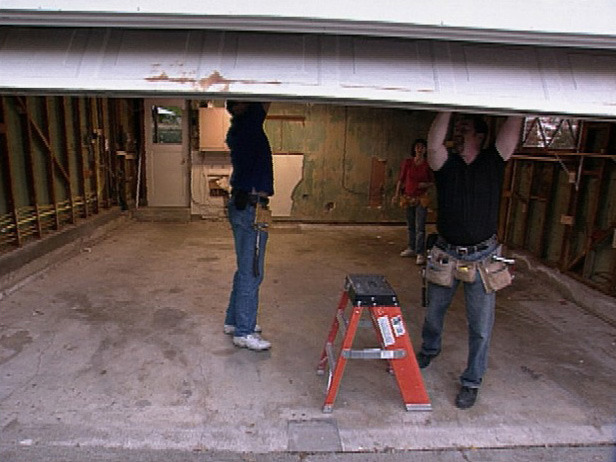
Many homeowners will replace their existing garage door at some point. Either they want to improve the appearance of their home or the garage door may be damaged due to a minor accident. Whatever the reason behind the garage door replacement in Plano, there are many steps that must be taken, before the new garage door is put into place. Removing the existing door is generally not that difficult, but it will require a team of skilled workers. It is crucial that the team do their research on how to install garage door, before actually attempting the task.
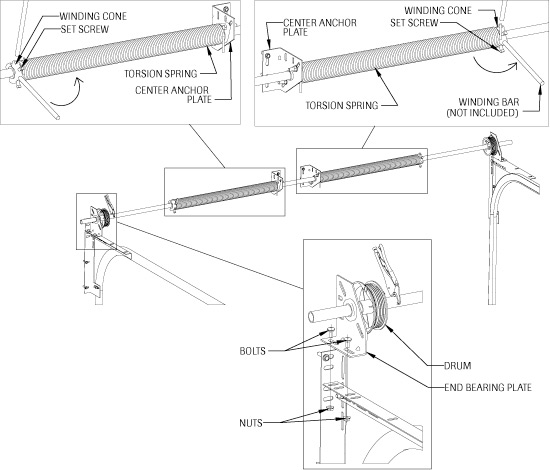
The first step will involve releasing the tension on the mechanical components. This is a very tricky task that must be approached carefully. Clamping the torsion spring shaft and utilizing pliers to wedge against the header wall will do the trick, but you must follow up by replacing a steel rod in one of the spring winding cone holes. Once the rod is in place, continue holding it and remove the setscrews from the winding cone faceplate. Gently turn the spring about one-quarter turn, utilizing the steel rods. Continue to alternate the rods until the first rod is completely removed. If you are unsure about this process, you may want to hire a professional Plano garage door installer in to do it for you. Now, you can begin to remove the garage door, by unbolting the framework.
if you need a pro to do this call plano garage door repair and one of our technicians will be at your location in no time!
How To Install A Garage Door – First Steps
First and foremost, it is pertinent to prepare your door for installation. Aside from disassembling each of the garage door panels, you’ll also want to go ahead and make sure that the door is weather proof. So, grab the first panel and attach weather stripping to the bottom. You should also drive nails through the jambs on each side, so the garage door panel will remain in place. Once this is completed, you will want to go ahead and assemble the other components, such as the track.
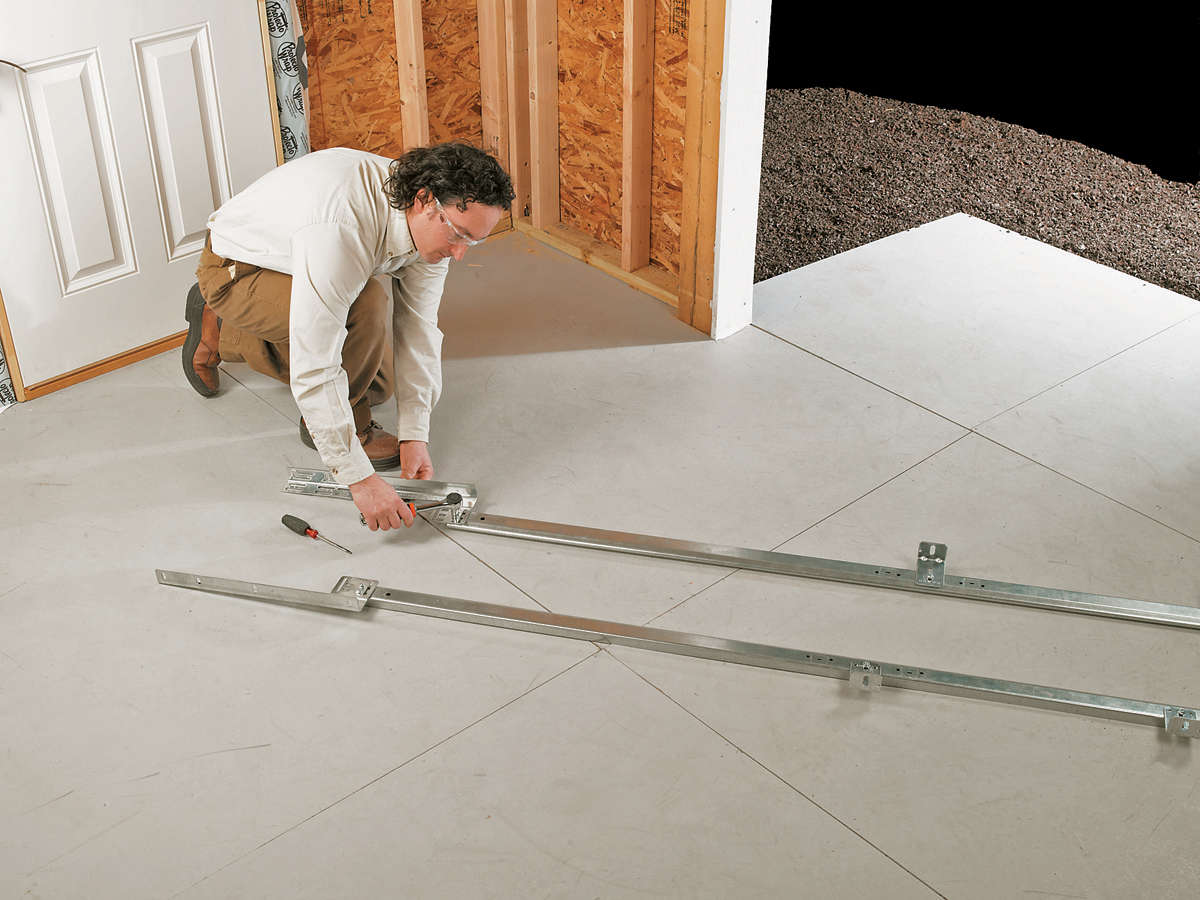
The track will come in two pieces and they’re installed on both sides of the garage door. Once they’re completely assembled, you should go ahead and put them in their designated location and add the rollers to the bottom garage door panel. Once the rollers are in place, you should slip the track over the rollers and repeat the procedure for the other side. After this, you should grab a friend and slide the second garage door panel into the track and down to its designated location. Be sure that the rollers slide perfectly into both tracks.
How To Install Garage Door – Hinges, Third Panel, And Bracket
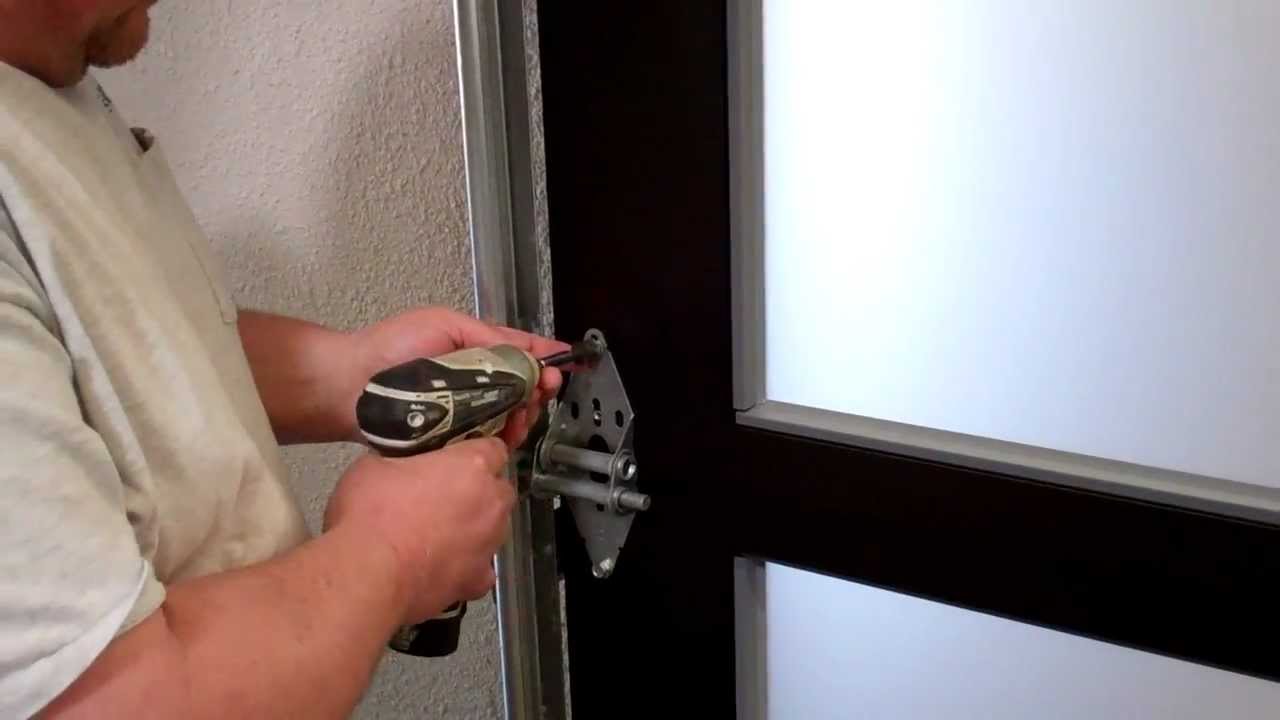
Once you’ve finished with the aforementioned steps, it is time to secure the hinges of the second panel to that of the first. This will allow your helper to let go of the second panel and begin helping you with the third. Also, remember that utilizing a power drill is faster and will make the project substantially easier. When adding the third panel to the track, you should proceed in the same manner as you did with the second. Have a friend grab one side and make sure the rollers slide down into the tracks perfectly. Once finished, you will want to check the levelness of the tracks and make sure everything is perfectly straight.
Now, the next step of learning how to install garage door will require you to attack the tracks to the wall. Grab the jamb brackets and your level. Make sure the tracks are completely straight up and down, before securing the brackets. Don’t overtighten the screws, because you may be required to go back and make adjustments at a later time.
Installing The Angled And Top Track
Now that the bottom tracks have been secured in place, your garage door will finally start to resemble the finished product. It is time to add the curved track, as well as the top track. This will require two people, since one will need to hold the top track in place, while the other one will need to bolt it to the other track and the ceiling. First, grab the curved track and slide it into place. Grab the top track and do the same. Be sure to keep ahold of the top track to prevent it from becoming damaged or bent. The next step of learning how to install a garage door is securing the two tracks together.
The top track can be rested on a ladder, if you need to give your hands a rest. Once the top tracks are secure, you should go ahead and check the top track for levelness. If everything is straight and level, you will want to go ahead and secure the track to the ceiling. Now, repeat this process with the other side. After this is completed, the rest should be fairly self explanatory.
Finishing It, Installing The Opener, And Testing Operation
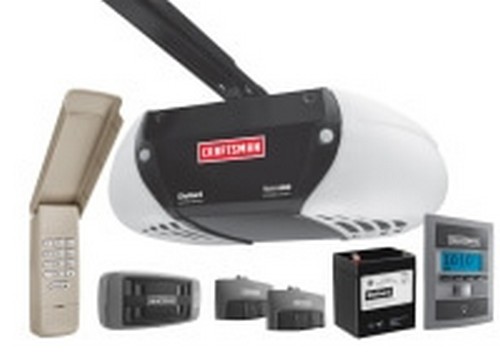
If you are mechanically inclined, you can learn how to install a garage door in no time at all. Installing a new operator or opener is truly not that difficult. Before moving forward, you will need to test your handy work. The door should be balanced evenly and it should also be able to open and close with exhibiting any issues. Once you have tested the garage door, you may discover that the torsion spring needs a little adjustment. Now, you may be able to do this yourself, if you are skilled, but be very careful.
Now follow the instruction guide included in the package to install the opener. Once you complete the task, be sure to test the operation, just to make sure everything is functioning properly.


